Monday, October 11, 2010

BBQ Chicken

I know what you are thinking, another BBQ sauce is she crazy?  Well to answer that question yes I am a little bit crazy, but in a good way.  I make this BBQ at the same time as I made the strawberry one and I figured if I was making one I might as well be making two.  This was good, but I prefer the strawberry BBQ sauce.  I like sweet things and the strawberry one was sweeter.  However if you do not like sweet BBQ sauce you would probably prefer the other sauce recipe.  The star of the meal though was the chicken.  It was moist and flavourful.   Definitely worth the effort!  (I will admit this recipe was a little bit of work)

Original Recipe the Neely's


Ingredients
2 chickens (or 4 whole bone-in chicken breasts) halved lengthwise
1 1/2 cups Italian dressing, recipe follows
1/4 cup Neelys Barbecue Seasoning, recipe follows
1 cup Neelys Barbecue Sauce, recipe follows
Directions
Rinse chicken halves in cold water and pat dry with paper towels. Place chicken in a large bowl or baking dish, coat with Italian dressing and evenly season with Neelys seasoning. For best results, allow the chicken to marinate in the refrigerator overnight.
Take the chicken out of the refrigerator and brush chicken with Neelys Barbeque Sauce.
Place into a preheated 350 degree F oven for 45 minutes.Brush the chicken with Neelys Barbecue sauce during the last 5 minutes of cooking.

Neely Italian Dressing:
2 tablespoons ground mustard
2 garlic cloves, smashed
1 tablespoon crushed red pepper flakes
1/2 teaspoon dried basil
1/2 teaspoon dried oregano
1 tablespoon sugar
2 tablespoons Neelys Barbecue Seasoning
1/3 cup red wine vinegar
1 cup canola oil
Salt and pepper
Mix all the ingredients together in a bowl, except the oil and salt and pepper. Slowly whisk in the oil and season with salt and pepper, to taste.


Yield: 1 1/2 cups
Neelys BBQ Seasoning:
1 1/2 cups paprika
3/4 cup sugar
3 3/4 tablespoons onion powder
Add all ingredients to a bowl and stir until combined. Keep in an airtight container for up to 6 months.


Neelys BBQ Sauce

2 cups ketchup
1 cup water
1/2 cup apple cider vinegar
5 tablespoons light brown sugar
5 tablespoons sugar
1/2 tablespoon fresh ground black pepper
1/2 tablespoon onion powder
1/2 tablespoon ground mustard
1 tablespoon lemon juice
1 tablespoon Worcestershire sauce

In a large saucepan, combine all ingredients. Bring mixture to a boil, reduce heat to a simmer. Cook uncovered, stirring frequently, for 1 hour 15 minutes.


Yield: 3 1/2 cups

BBQ Roast Pork

I know that when I post recipe's from the Neely's that I their recipes are not speedy however they really do taste good and are worth the extra effort. Making the BBQ sauce from scratch gives you a sweet full flavour that you would never achieve if you used BBQ sauce from the bottle. So yes I did make the this strawberry BBQ sauce, however I also added a few blackberries. When the sauce was done you would never know there was fruit in it. I would definitely make this sauce again. The sauce was so good I was licking it off the spoon.


Original Recipe the Neely's


Ingredients
Dry Rub:
2 tablespoons smoked paprika
1 tablespoon kosher salt
1 tablespoon sugar
1 tablespoon garlic powder
1 teaspoon freshly ground black pepper
2 tablespoons canola oil
1 (3 to 4-pound) pork loin
Strawberry BBQ Sauce:
2 tablespoons canola oil
1/2 small red onion, diced
2 cloves garlic, minced
1 jalapeno, seeded and minced
Kosher salt and freshly ground black pepper
11/2 cups strawberries, tops removed, roughly chopped, frozen or fresh
1/2 cup of blackberries, frozen or fresh
1/4 cup brown sugar
1 1/2 cup ketchup
1/4 cup water
1/2 cup strawberry nectar or mixed berry nectar
1/4 cup cherry jam
1 tablespoon dry mustard
1 tablespoon Worcestershire sauce
Directions

Preheat the oven to 325 degrees F.
Mix together all of the dry rub ingredients in a small bowl. Rub the pork with canola oil and generously sprinkle the rib all over the pork. Put in a bowl, cover and refrigerate overnight.
BBQ sauce: Add the oil to a medium-sized saucepan over medium heat. Once hot, add the onion, garlic, and jalapeno. Saute until soft and season with salt and pepper, to taste. Add the strawberries and blackberries and sugar and cook until the strawberries begin to break down and the sugar dissolves. Add the ketchup, water, strawberry nectar, jam, mustard, Worcestershire, salt and pepper. Simmer for 30 minutes.
Put the pork in a roasting pan and roast until an instant-read thermometer registers 145 degrees F, about 1 hour and 15 minutes. Brush with BBQ sauce the last 10 minutes of cooking.
Remove the pork from the oven and let rest for 10 minutes before slicing.

Roasted Butternut Squash Soup

One of my favourite soups is squash and I have a little boy who asks for squash soup every night for supper.  The problem is that I am trying to make a different meal every night for 365 days, thus my began my search for a new squash soup.  I stumbled upon this recipe  by the Barefoot Contessa and decided to try it.  I was pleasantly surprised the soup was rich and yummy and it tasted completely different from the other squash soup that I make.  Roasted the vegetables really brought out a sweet flavour.  However, my son, whom I made this soup for, at his request refused to eat it.  It looked different then my usual squash soup so he would not even try it.  My husband said that he liked it better then my usual soup.  So at least someone liked it!


Ingredients
3 to 4 pounds butternut squash, peeled and seeded
2 yellow onions
2 McIntosh apples, peeled and cored
3 tablespoons good olive oil
Kosher salt and freshly ground black pepper
2 to 4 cups chicken stock, preferably homemade
1/2 teaspoon good curry powder
Condiments for serving:
Scallions, white and green parts, trimmed and sliced diagonally
Homemade croûtons
Grated cheese
Directions
Preheat the oven to 425 degrees F.
Cut the butternut squash, onions, and apples into 1-inch cubes. Place them on a sheet pan and toss them with the olive oil, 1 teaspoon salt, and 1/2 teaspoon pepper. Divide the squash mixture between 2 sheet pans and spread in a single layer. Roast for 35 to 45 minutes, tossing occasionally, until very tender.
Meanwhile, heat the chicken stock to a simmer. When the vegetables are done, add them to the stock and use an immersion blender to puree. Add the curry powder, 1 teaspoon salt, and 1/2 teaspoon pepper. Taste for seasonings to be sure there's enough salt and pepper to bring out the curry flavor. Reheat and serve hot with condiments either on the side or on top of each serving.

Chocolate Sherbet

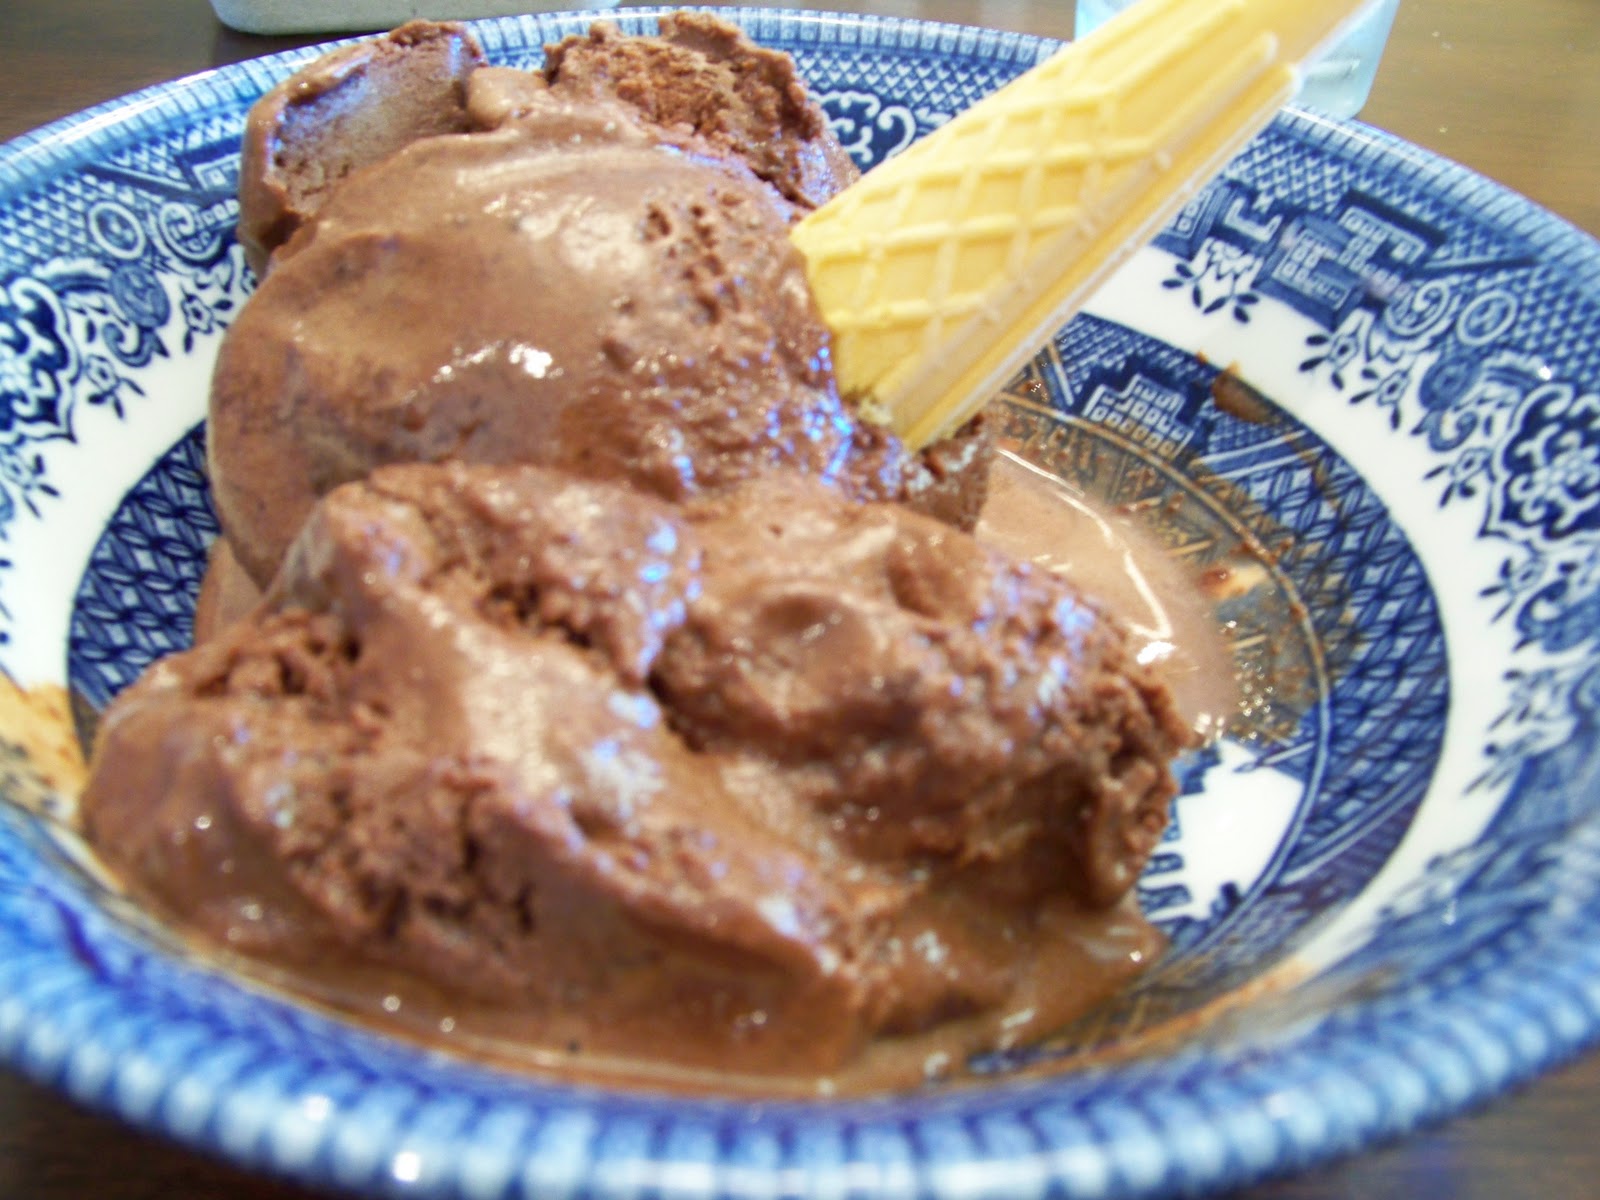
I really like sorbet, so I decided to try this recipe by David Lebovitz to see how this chocolate sherbet tasted. Every other ice cream I made from his website was creamy and delicious and I was not disappointed with the sherbet.  It was really rich and chocolaty and you only needed a little bit to satisfy your sweet tooth.  Although if I had to pick my favourite it would still be the salted caramel chocolate chip.


Chocolate Sherbet


About 3/4 quart (3/4l)
2 cups (500ml) milk (whole, low, or non-fat)
1/2 cup (100g) sugar
pinch of salt
1/2 cup (50g) unsweetened cocoa powder
4 ounces (115g) bittersweet or semisweet chocolate, chopped
1/4 teaspoon vanilla extract

1. In a medium-sized saucepan, warm half of the milk with the sugar, salt, and cocoa powder.
2. Bring to a full boil while whisking, then reduce the heat and simmer gently for 30 seconds.
3. Remove from heat and add the chocolate, the vanilla, and the coffee-flavored liqueur, if using. Stir in the other half of the milk.
4. Taste, and if the chocolate is a bit grainy, puree it in a blender to smooth it out.
5. Chill thoroughly, then freeze in your ice cream maker according to the manufacturer’s instructions.
Note: As mentioned, above, this would likely work with non-dairy milk, but be sure to use one that can be boiled.

Wednesday, September 22, 2010

Apple Blossom

Apple season is finally here, hooray!  My favourite kind of apple is honeycrisp and they are best eaten in the fall just picked from our local orchards.  I actually stopped at our local orchard after driving 18 hours straight with three preschoolers and six year to pick up a bushel of these apples.  They are so yummy!  However these apples    only fueled my need to bake.  Looking in my freezer I saw some frozen pie crust that needed to used, so that along with the apples and the fact that apple blossoms are one of my husbands favourite desserts inspired the following dessert!  Here is the link for the original recipe.


Apple Blossoms
Pastry for a 2 crust pie
• 6 small apples
• sugar
• cinnamon and nutmeg to taste
• butter

Vanilla Sauce:
• 1/2 cup granulated sugar
• 1/2 cup brown sugar
• 1/2 cup whipping cream
• 1/2 cup butter
• 1 tsp. vanilla

Roll pastry on lightly floured surface into 18 X 12" rectangle. Cut rectangle into 6" squares. Place an apple in the center of each pastry square; sprinkle with sugar, cinnamon and nutmeg, dot with butter. Bring corners of pastry squares to top of apple; press edges to seal. Place in 9 x 13" pan, brush dumplings with beaten egg white and sprinkle with sugar. Bake in 375°F oven for 40 minutes or until apples are tender. In small saucepan combine sugars, whipping cream and butter. Bring to a boil, stir in vanilla. Serve warm sauce over dumpling.

Stuffed Mushroom Caps

The other day when I was at the grocery store that had these lovely portobello mushrooms caps on sale, it think because it is getting colder so people are not barbecuing as much.  Anyway I decided to buy them, bring them home and then decide what to make.  I settled on stuffed mushroom caps and I am glad that I did.  These turned out great and they were really yummy.  These replaced the meat part of our meal for supper but you could also stuff white mushrooms and serve them as a side dish.  However, while my husband and I really enjoyed these my kids chose only to eat the filling.  I do consider this to be a small victory because at least they did eat some of the supper.  


Stuffed Mushroom Caps
6 Large protobello mushroom caps
2 Tablespoons Olive Oil
1 Medium Onion, finely chopped
1 garlic clove minced
3/4 cups plain white bread crumbs
1/2 cup grated Romano
1/4 teaspoon salt
1/8 teaspoon freshly ground black pepper
1 teaspoon dried parsley

1.  Preheat oven to 350 F.  Lightly oil a baking sheet.
2.  Wipe mushrooms with a damp cloth.  Remove the stems and set aside.  
3.  Heat the oil over medium heat.  Add the onion and the garlic and cook, stirring occasionally, until the onion is translucent about 5 minutes.  Add the mushrooms.  Cook stirring occasionally until the mushrooms are tender, about 5 minutes.  Transfer to a bowl and set aside to cool.
4.  Add the bread crumbs, cheese, parsley, salt and pepper and mix well.
5.  Arrange the mushrooms on the baking sheet.  Fill each cap with the stuffing.  
6.  Bake until stuffing begins to brown about 15 minutes.  Serve hot.

Red Velvet Cupcake


Recently it was my dad's birthday and his favourite cake is red velvet so I decided to make a giant red velvet cupcake for his birthday.  This plan did not go well and I wanted to throw the whole cake in the garbage.  The worst insult was when my Dad said that the cream cheese icing on the top looked like mashed potatoes, not exactly the look I was going for.  So I used cake man raven's recipe.  This recipe calls for 11/2 cups of oil, which seemed like a lot to me, but the cake had gotten good reviews do I figured I would try it.  Well I am not sure if it was the oil or the fact that I decided to use a giant cupcake mold but the middle of my cake was gooey and not cooked and the outside was dry.  Then I decided to go whole hog and try the icing recipe as well. Once again this did not turn out well, it was not light and fluffy and just did not have a good cream cheese frosting consistency or taste.  I am including the recipe, you could try it and put less oil in the cake and cream cheese in the frosting and see if it works better for you.


Red Velvet Cake
Original Recipe by Cake Man Raven


Ingredients
Vegetable oil for the pans
2 1/2 cups all-purpose flour
1 1/2 cups sugar
1 teaspoon baking soda
1 teaspoon fine salt
1 teaspoon cocoa powder
1 1/2 cups vegetable oil
1 cup buttermilk, at room temperature
2 large eggs, at room temperature
2 tablespoons red food coloring (1 ounce)
1 teaspoon white distilled vinegar
1 teaspoon vanilla extract
Cream Cheese Frosting, recipe follows
Crushed pecans, for garnish
Directions

Preheat the oven to 350 degrees F. Lightly oil and flour 3 (9 by 1 1/2-inch round) cake pans.
In a large bowl, sift together the flour, sugar, baking soda, salt, and cocoa powder. In another large bowl, whisk together the oil, buttermilk, eggs, food coloring, vinegar, and vanilla.
Using a standing mixer, mix the dry ingredients into the wet ingredients until just combined and a smooth batter is formed.
Divide the cake batter evenly among the prepared cake pans. Place the pans in the oven evenly spaced apart. Bake, rotating the pans halfway through the cooking, until the cake pulls away from the side of the pans, and a toothpick inserted in the center of the cakes comes out clean, about 30 minutes.
Remove the cakes from the oven and run a knife around the edges to loosen them from the sides of the pans. One at a time, invert the cakes onto a plate and then re-invert them onto a cooling rack, rounded-sides up. Let cool completely.
Frost the cake. Place 1 layer, rounded-side down, in the middle of a rotating cake stand. Using a palette knife or offset spatula spread some of the cream cheese frosting over the top of the cake. (Spread enough frosting to make a 1/4 to 1/2-inch layer.) Carefully set another layer on top, rounded-side down, and repeat. Top with the remaining layer and cover the entire cake with the remaining frosting. Sprinkle the top with the pecans.
Cream Cheese Frosting:
1 pound cream cheese, softened
4 cups sifted confectioners' sugar
2 sticks unsalted butter (1 cup), softened
1 teaspoon vanilla extract
In a standing mixer fitted with the paddle attachment, or with a hand-held electric mixer in a large bowl, mix the cream cheese, sugar, and butter on low speed until incorporated. Increase the speed to high, and mix until light and fluffy, about 5 minutes. (Occasionally turn the mixer off, and scrape the down the sides of the bowl with a rubber spatula.)
Reduce the speed of the mixer to low. Add the vanilla, raise the speed to high and mix briefly until fluffy (scrape down the bowl occasionally). Store in the refrigerator until somewhat stiff, before using. May be stored in the refrigerator for 3 days.
Yield: enough to frost a 3 layer (9-inch) cake